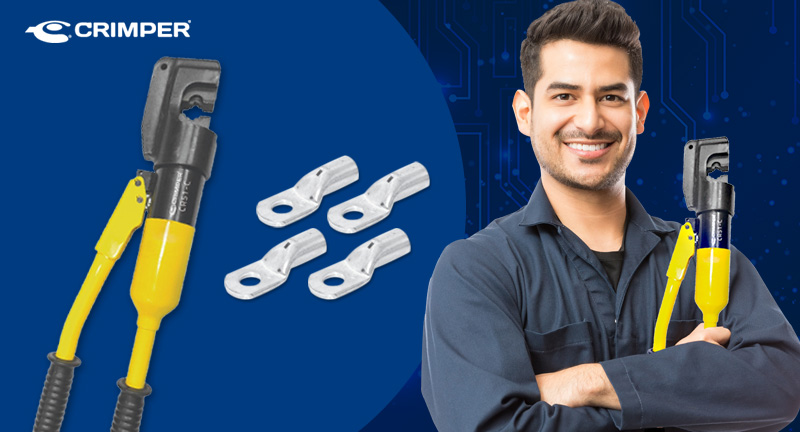
In this month’s article, we will discuss how to crimp compression terminals with a hydraulic pliers. For this, we used this excellent video presented by electrical engineer André Mafra, which you can watch below:
Hydraulic Plier CR51-C
When we talk about compression of terminals and tubular sleeves, the best way to do a good job is to use the right tools, right? As a consequence, we can highlight that due to lack of compression, heating can occur at the connection point, possible failures in case of rupture, and mainly, insecurity in the electrical installation.
The Crimper CR51-C hydraulic pliers is perfect for crimping terminals and tubular sleeves from 16mm to 300mm, applying an incredible force of 12 tons on the terminal. Did you like it and want to know all the details of this tool and how to acquire it? Just click on the link below:
To illustrate our article, we will use a cable and a terminal, both 150mm long. It is important to always wear gloves and safety glasses when performing this type of work, okay?
This pliers has a control valve, which determines its correct operation. It is made up of two directions: on and off. Turn clockwise to turn on (on) and turn counterclockwise to put it in its initial resting state (off).
Crimping a terminal with the CR51-C
With the pliers properly lying on its workbench, with the cable and terminal next to it, we need to choose the exact 150mm matrix. To place the matrix in the pliers, first insert the upper matrix into one of its guides and then the lower matrix.
Then, we place the terminal inside the matrix, turn the adjustment knob clockwise and squeeze the pliers consecutively until the parts of the matrix fit together. Now it’s just to disable the adjustment and the pliers will release the connection.
It is important to note that the stripped part of the cable must be sufficient and it is necessary to pay attention to the inspection window (that hole in the terminal that helps us to check if the cable was well inserted).
Keep the CR51-C hydraulic pliers lying down, turn it to the exact position to fit the cable into its matrix, and activate the control valve by turning it clockwise. The tool itself will assist during the execution of the work. When the compression is finished, the pliers give a “sigh”, relieving the pressure on the handle. In addition, it is possible to observe by the framing of the matrix: if the upper and lower parts come together, it means that the compression was executed successfully. To release the cable, turn the control valve counterclockwise.
With the work finished, remove the upper matrix from the hydraulic pliers, followed by the lower matrix. To preserve the CR51-C, we recommend always storing it in its own case, okay?
And that’s it, dear friends. We hope our article has been helpful. See you next time!

